Custom Search
|
|
  |
|
|
FRAMING POLES Framing a pole consists of the following actions: determining the face and back of the pole, cutting the roof and gain, and drilling holes for mounting hardware.
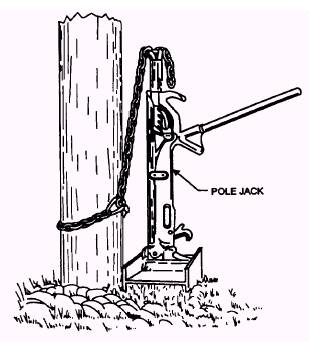
Figure 4-45.- Pole jack.
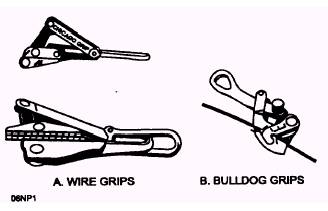
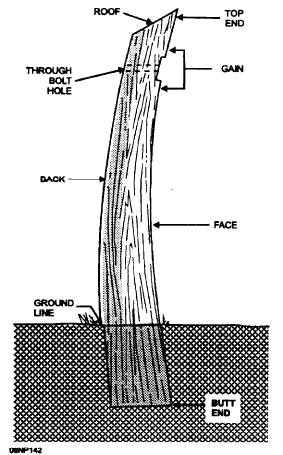
Figure 4-47.- Grips. Figure 4-48 shows that the face of any pole is on the inside of any curve the pole may have. This allows the wire strain on the crossarm to be against the curve of the pole. This also dictates positioning of the gain on the face of the pole, except for gains on comer poles, when lower crossarms are mounted at a 90-degree angle to the main distribution line. The roof or top of the pole (fig. 4-48) is cut sloping at a 15-degree angle from the face to the back of the pole; however, on the new pressure-treated poles, roofs are not required. A gain should be one-half inch deep in the center, slightly concave, and located 12 inches from the top of the pole. The width of the gain should be the height of the crossarm to be used. Spacing of succeeding gains depends on the voltage of the lines to be placed on that level. This information is contained in the project specifications and drawings for any new work for which you are tasked. To drill holes for mounting crossarms, use a template that can be used to mark the center, or draw two diagonal pencil lines across the gain. The intersection of these two lines determines the center of
Figure 4-48.- The parts of a pole. the gain and the place to drill the hole. The nominal size hole is 1 1/ 16 inch for a 5/ 8-inch through bolt. INSTALLING POLES The depth for a pole hole depends on the length of the pole and the composition of the soil. A hole in firm, rocky terrain does not need to be as deep as a hole in soft soil. Table 4-1 gives recommended depths for poles from 20 to 60 feet long in firm soil and in rock. A pole set in sandy or swampy soil must be supported by guys or braces, or by cribbing." Cribbing" means placing some firm material around the part of the pole that is below the ground. One method of cribbing is to sink an open-bottom barrel in the hole, set up the pole in the barrel, and then fill the space around the base of the pole with concrete or small stones after the pole has been plumbed (brought to the vertical). Another method of cribbing is shown in figure 4-49. There may be a power-driven hole digger available, but in the absence of one of these, the holes must be dug by hand tools (fig. 4-50). You use a "digging bar" to loosen the soil. You can remove about the first 2 feet of depth with a short-handled shovel. Below that, you loosen the earth with an earth auger or long-handled shovel, and haul it up with a long-handled device, called a spoon. A hole should have a diameter about 6 inches larger than that of the base of the pole to allow room for tamping backfill. It should be a little larger at the bottom to allow for plumbing the pole.
|
 
|
|
|